Edited on 6 September 2020
Buying a website
Buying a website at Webs-Pro is as easy as 1-2-3.
We will walk you through the 3 steps required to buy your website, from customising your website, to creating an account and finally choosing your billing cycle.
After that, we will show you the outcome of the entire process so that you know what to expect next.
Step 1 Customise your website
- Choose a demo. A demo is the starting point for your website. Each demo has a unique theme and your website will have the same theme as the demo you chose. The demos are live, and we encourage you to browse through them to see which one suits your need. Once you’re ready, click the “Select” button below the chosen demo.
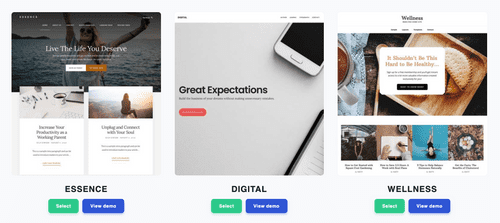
Select a demo
- Choose a server location. We offer 13 location choices for your server. As a rule of thumb, choose a server location nearest to your target visitors for improved page load performance. For example, if most of your website visitors are in Malaysia, the next best location you can choose is Singapore.
- Enter your preferred domain names. We will register the first available domain name and use it on your website. You can opt for your own domain name if you have one. Domain names are subject to availability, we suggest that you check the availability beforehand at https://domains.google. Before any domain name registration takes place, we will confirm with you first.
- Agree to our Service Delivery Agreement. We included the specifics with regard to the trial, domain name, support, website management, among others. Please read through it.
Step 2 Sign in
There are 3 sign in options, by using email and password combination, Google Login, and Facebook Login.
When you first create an account using your email, we will send a verification code to your email. You have to enter the code to proceed.
For Gmail users, the verification email might go into your Promotions tab, so be sure to check there as well.
Step 3 Try 7 Days Free
This is the final step.
Here, you choose a preferred billing cycle and enter your payment method info.
We offer you 7 days of free trial regardless of which billing cycle you choose. A payment method is required to prevent trial abuse, you will not be charged until the trial ends.
Your payment is secured and protected by Stripe.
Click the “Try 7 Days Free” button once you’re ready. You will see a confirmation message after your request passes our verification.
Next Up
You will receive 2 emails.
The first email (Confirmation)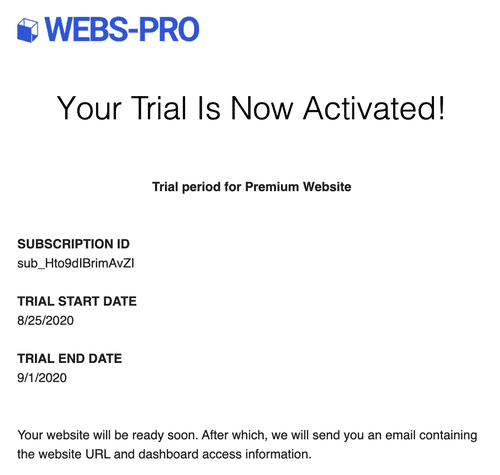
The second email (Trial website is ready)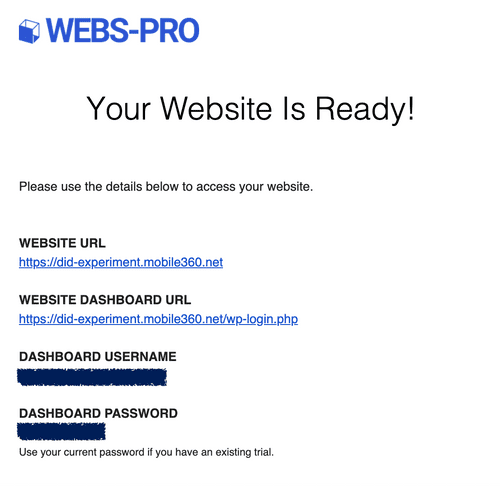
Website home page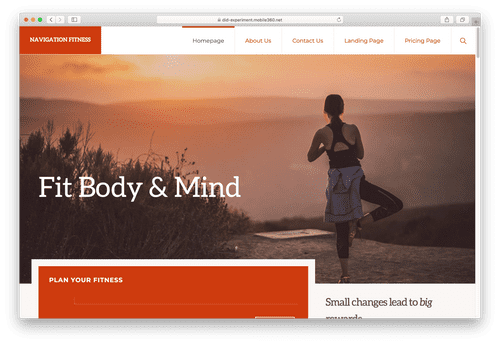
Website dashboard login page